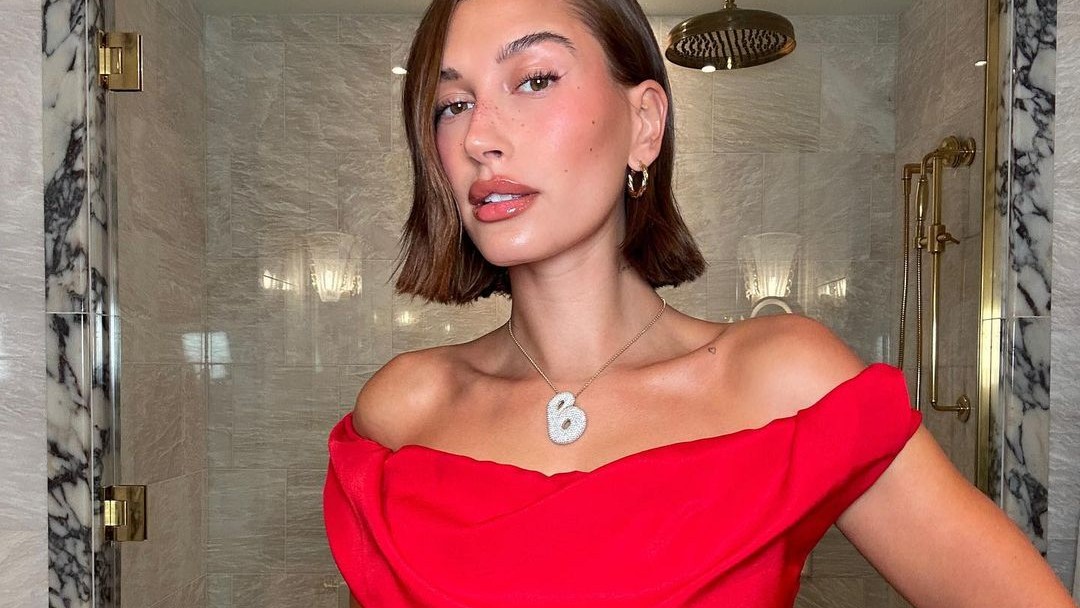
Remember the phase of “Blush Blindness,” when we couldn’t get enough of applying blush to our cheeks? It seemed like the more blush, the better! While some are now opting for a more minimalist approach for a natural finish, there’s a makeup trend making a strong comeback for all the blush enthusiasts: Blush Draping.
The blush-draping technique, which first gained popularity in the 1970s and 80s, is back and better. Renowned for it’s ability to create a lifted and sculpted look, this blush trend is the new choice of the beauty creators and makeup artists.

Hailey Bieber | Instagram
The blush draping technique’s history can be traced back to Cher’s iconic makeup artist, Way Bandy, who famously used vivid blush shades to define and enhance the singer’s facial features. Now, blush draping has become a key technique for adding structure, lift, and glow to the face, and it’s just what your makeup routine needs.
So, what exactly is blush draping? While the name may sound a bit unfamiliar, it’s simply a method of using blush to contour your cheeks, creating a smoother appearance. Instead of relying on cool-toned bronzers and contour products, blush draping embraces warmer, more feminine hues, offering a flushed look. The best part? It can instantly lift your face and highlight your cheekbones, making it perfect for a wide variety of face shapes.

Draped blush | Pinterest
Here’s how to achieve the blush-draping look
If you’re ready to try this trend, here’s a step-by-step guide to help you achieve the perfect blush draping effect:
Prep your skin
Follow your usual skincare routine, going in with a concealer and foundation. Make sure everything is well-blended before adding blush. A smooth base will make the blush application look flawless.
Choose the right brush and blush
To get the most out of blush draping, use a smaller brush for precise application. This ensures that you can focus on the areas you want to contour, especially if you’re using darker blush shades. A darker blush applied under your cheekbones can create a more contoured look, while lighter shades can be used for blending. Make sure to use a liquid blush and not a power blush for this technique.
Apply blush to the right areas
Start by applying the darker blush below your cheekbones, following the natural contours of your face. Then, use a lighter blush on the high points of your cheeks and blend it upwards towards your temples. This creates that lifted and sculpted effect.
Highlight the key areas
To complete the look, apply a highlighter to the areas you want to bring forward. Think of the tops of your cheekbones, the bridge of your nose, and the centre of your forehead. This will give your face a more dimensional and glowing finish.
Set the complete loom
For your blush to last all day, finish off with a light dusting of translucent powder. This will set the blush in place while keeping your skin looking smooth and matte.

